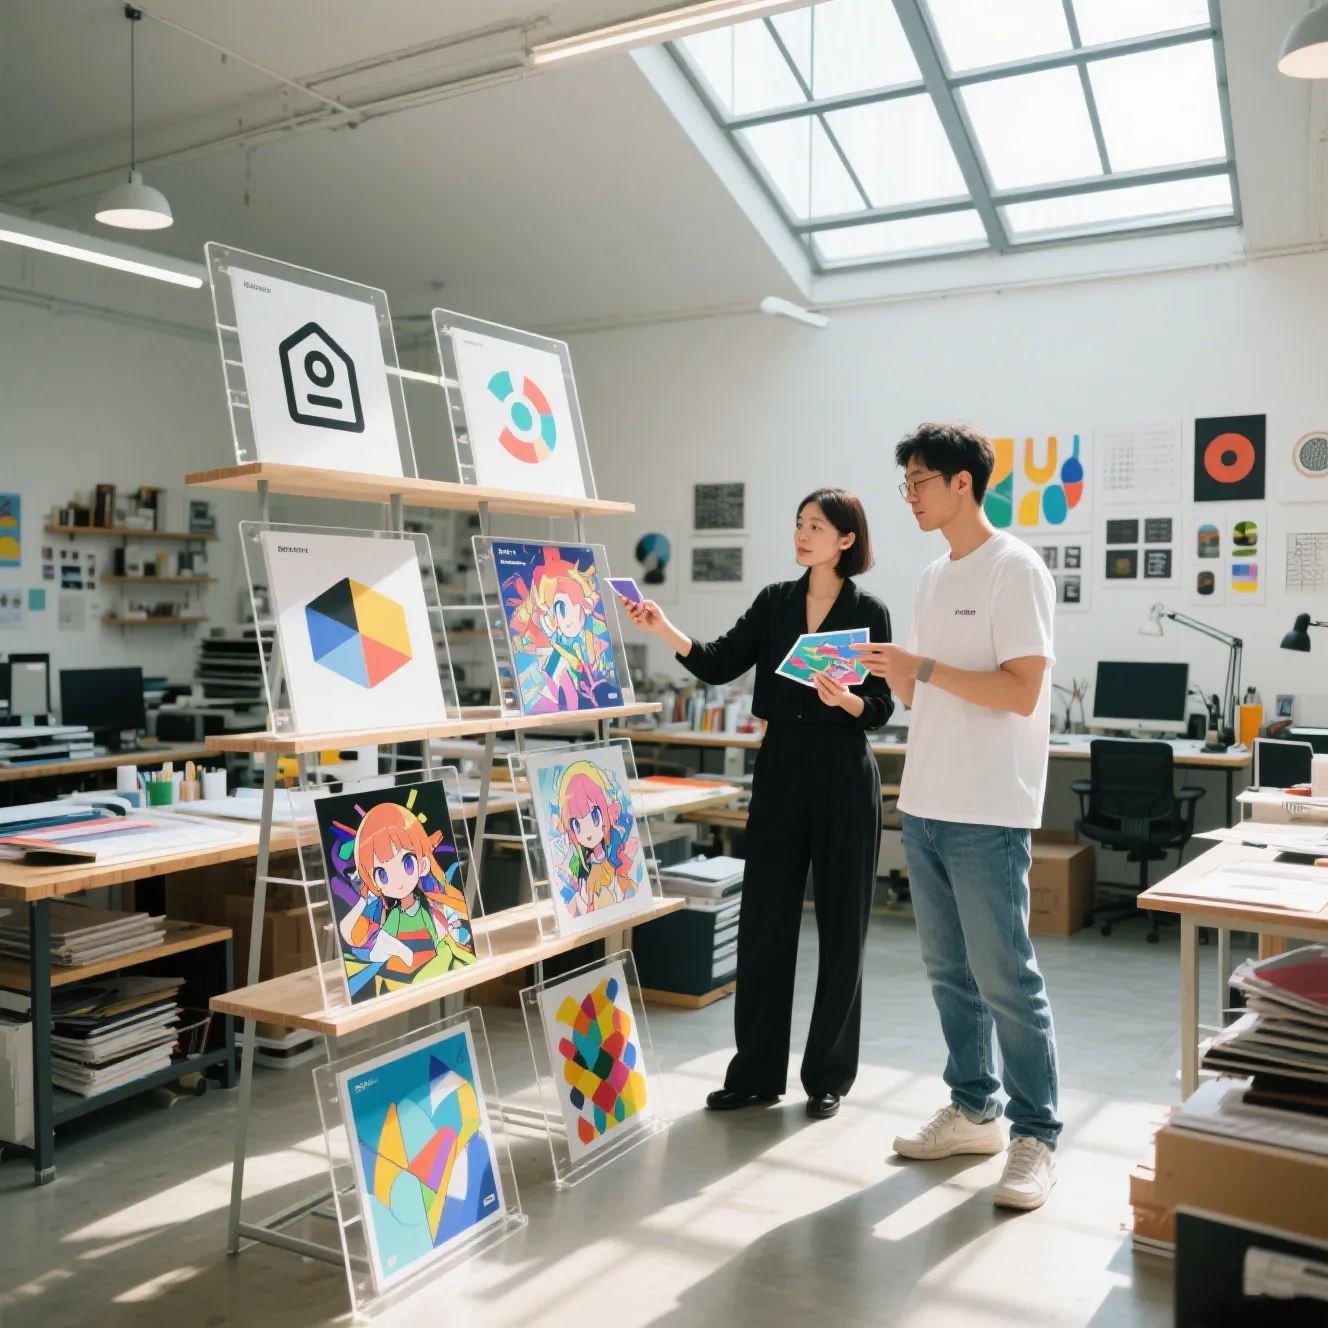
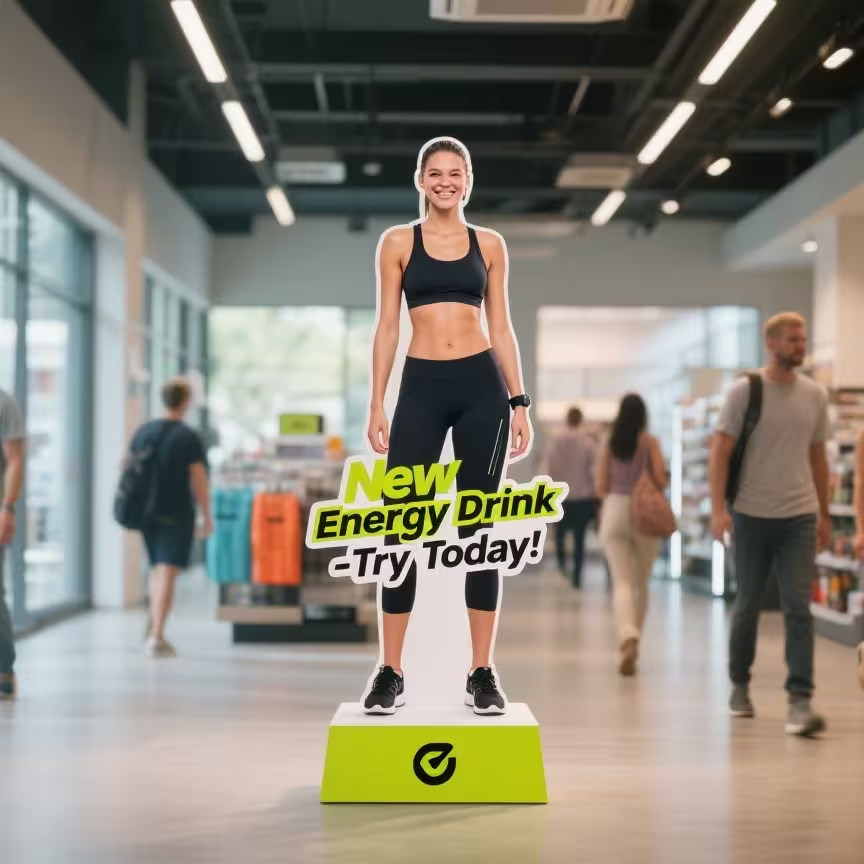
A few months ago, I was talking to an indie game developer I’ll call “Alex.” He and his small team had poured their hearts into creating a beautifully designed RPG with a cast of memorable characters. Their game had a passionate, growing fanbase on Discord and Twitter. Yet, they were struggling to fund the next chapter of their game.
“We sell digital art packs and soundtracks, but it’s just not enough,” Alex confessed, his voice heavy with the classic creator’s burden. “Our fans are always asking for physical merch. We’ve seen other indie studios create these incredible acrylic standees of their characters, and they sell out instantly. But when I look into how to make a custom acrylic standee, I get overwhelmed. File types, cut lines, CMYK, MOQs… it feels like a different language. We’re storytellers and coders, not manufacturing experts.”
If you’ve ever felt that same wall between your creative vision and a physical product, you’re in the right place. That fear of the unknown, the technical jargon, and the financial risk is what holds back countless talented creators from unlocking a powerful new revenue stream.
The good news? It’s not as complicated as it seems. This guide will demystify the entire process. We are going to walk through the exact, step-by-step blueprint I shared with Alex. It’s the framework that took him from being intimidated by the manufacturing process to launching a pre-order campaign that not only sold out but also fully funded his next production run. You’ll learn how to make a custom acrylic standee not just as a product, but as a cornerstone of your brand.
Why Acrylic Standees Are Your Brand’s Untapped Goldmine
Before we dive into the “how,” let’s solidify the “why.” The demand for unique, physical collectibles is not just growing; it’s exploding. The global market for licensed merchandise is valued in the hundreds of billions, with a significant portion driven by fan-centric items. More specifically, Google Trends data from the last year shows a consistent upward climb in searches for terms like “custom anime standee” and “artist acrylic charms,” signaling a hungry market.
The Psychology of a Collectible
A custom acrylic standee is a perfect storm of value. For the fan, it’s a physical, tangible piece of a world they love. Unlike a digital file, it occupies space, a constant, colorful reminder of their favorite character. It feels more premium and substantial than a sticker, yet more accessible and affordable than a large-scale figure.
For you, the creator, it’s one of the highest-margin products you can offer. This is where a modern manufacturing partner, especially a Print-on-Demand (POD) super factory like Loongwa, changes the game. The old model required you to risk thousands of dollars on a massive inventory order (a high MOQ, or Minimum Order Quantity). The new model allows you to produce in small batches, or even one at a time. This de-risks the entire process, letting you test designs and grow sustainably.
The Blueprint: How Alex Funded His Game with Acrylic Standees
When Alex first started, he was stuck in analysis paralysis. He had the art, but no clear path to a product.
Our strategy was to focus on a single, high-impact product and execute it flawlessly. We chose his game’s most popular character and set out to create the ultimate collectible version of her as a custom acrylic standee.
Here’s a snapshot of his business three months later:
-
His first pre-order campaign for 150 standees was fully funded in under 72 hours. The profits covered the entire production cost and generated an additional $2,500 for his game development fund.
-
His social media engagement spiked by over 50% as fans excitedly shared the announcement and, later, photos of their standees.
-
He built a new, reliable revenue stream that was more profitable than his digital goods.
-
Most importantly, he built a stronger, more tangible connection with his fanbase.
This wasn’t magic. It was the result of a deliberate, 7-step process that any creator can follow.
Step One: From Character to Concept – The Design Phase
The first step in learning how to make a custom acrylic standee is to shift your thinking from a 2D illustration to a 3D object.
Key Design Principles for Standees
-
Dynamic Posing: A static, “T-pose” character is boring. Choose a dynamic pose that captures the character’s personality. Is she a fierce warrior mid-swing? A shy mage casting a spell? The pose tells a story.
-
Consider the Silhouette: A strong, clear silhouette is instantly recognizable and visually appealing. Avoid overly complex or “busy” outlines with many tiny, fragile parts. A design with long, thin, spiky elements is prone to breaking during shipping or handling.
-
The Base is Part of the Art: Don’t settle for a plain circle. The base is an opportunity for more storytelling. For Alex’s fantasy character, we designed a base that looked like a cracked, ancient stone floor with glowing runes. It elevated the entire piece from a simple figure to a mini-diorama. You can also print your logo or the character’s name on the base for a professional touch.
Step Two: The Technical Translation – Preparing Your Print Files
This is where most artists get intimidated, but it’s just a process. This is the core of learning how to make a custom acrylic standee correctly. A good manufacturer will provide a template and clear guidelines, but understanding the “why” behind those rules will make you a better product designer.
The Essential File Setup Checklist
-
Vector Cut Lines: This is non-negotiable. Your artwork can be a raster image (like a .PNG or .PSD file), but the line that the laser will follow to cut out your standee shape must be a vector path. This is usually created in a program like Adobe Illustrator. Why? Because vectors are mathematical lines that can be scaled infinitely without losing quality, ensuring a perfectly smooth, crisp cut every time. You will typically place this vector line on a separate, clearly named layer in your file.
-
CMYK Color Mode: Your screen displays colors in RGB (Red, Green, Blue). Professional printers use CMYK (Cyan, Magenta, Yellow, Black). If you design in RGB and send it to a manufacturer, the colors in the final product may look dull or shifted. To avoid this, convert your file to CMYK before you finalize the design. This will give you a more accurate preview of the printed colors.
-
Resolution Matters: For a sharp, clear print, your artwork file should be at least 300 DPI (dots per inch) at the final print size. Anything lower, and your beautiful art will look pixelated and blurry up close.
-
Plan for Special Finishes: Want parts of your design to be transparent? Or maybe add a glossy, tactile epoxy dome? These effects are controlled by adding special layers to your file. For transparency, you would indicate which areas should not have a white ink base layer printed behind the color. For epoxy, you’d create a layer that shows exactly where the domed finish should be applied.
Alex’s first file attempt had the cut line merged with the art layer. We worked together to separate it, ensuring the factory’s machines could read the instructions perfectly. This simple fix saved a week of back-and-forth communication.
Step Three: Choosing Your Materials and Finishes
The “feel” of your custom acrylic standee is just as important as its look. The material you choose sets the tone and the price point.
A Creator’s Guide to Acrylic Options
-
Standard Clear Acrylic: The workhorse. It’s affordable, durable, and offers fantastic clarity that makes your art pop.
-
Holographic / Rainbow Acrylic: This is a showstopper. The iridescent finish catches the light beautifully and instantly signals a premium, special-edition item. You can comfortably price these higher.
-
Glitter or Epoxy: Adding a suspended glitter effect or a smooth, domed epoxy finish adds texture and visual interest. Epoxy, in particular, adds a satisfying weight and protects the print underneath.
-
Sustainable Options: As consumers become more eco-conscious, finding an acrylic stand manufacturer that offers options like recycled acrylic can be a huge selling point for your brand.
For his launch, Alex offered a standard version and a limited-edition version with a holographic back. The holographic version sold out first, proving fans are willing to pay a premium for unique features.
Step Four: Finding Your Manufacturing Partner
This is the relationship that will make or break your product line. You’re not just looking for a factory; you’re looking for a partner who is invested in your success.
How to Vet a Potential Manufacturer
-
Check Their Experience with Artists: Do they have a portfolio showcasing work from other independent creators? A manufacturer who understands the needs of artists will offer better support and more flexible options.
-
Evaluate Their Communication: Send them an email with a few specific questions about their process. How quickly and clearly do they respond? Good communication is a sign of a reliable partner.
-
Look for Low MOQs or POD Options: For your first product, you don’t want to be forced to order 500 units. A manufacturer that allows small batches (50-100) or a Print-on-Demand model is ideal. It minimizes your risk.
-
Read Their File Guidelines: A professional manufacturer will have a detailed guide or template explaining exactly how to set up your files. If they don’t, it’s a red flag.
Step Five: The Golden Rule – Always Order a Sample
I will say this as clearly as I can: Never, ever place a bulk order without first getting a physical sample in your hands. A digital mockup can’t show you the print quality, the material weight, or the precise fit of the base.
Your Sample Quality Checklist
-
Color Accuracy: Hold the sample next to your monitor. How close are the colors to your original file?
-
Cut Precision: Are the edges smooth? Is the custom shape accurate?
-
Fit and Stability: Does the standee tab fit securely into the base? It should be snug, not wobbly.
-
Overall Feel: Does this feel like a product you would be proud to send to your biggest fan?
The $20-$50 you spend on a sample is the best insurance policy you can buy against a disastrous, thousand-dollar production run.
Step Six: Crafting a Launch That Feels Like an Event
Don’t just add the product to your store and hope for the best. Build hype. Make your audience feel like they’re part of something special.
A Simple Launch Strategy
-
Tease the Process: Share behind-the-scenes glimpses on social media—the first sketch, the color selection process, the moment you unbox the sample.
-
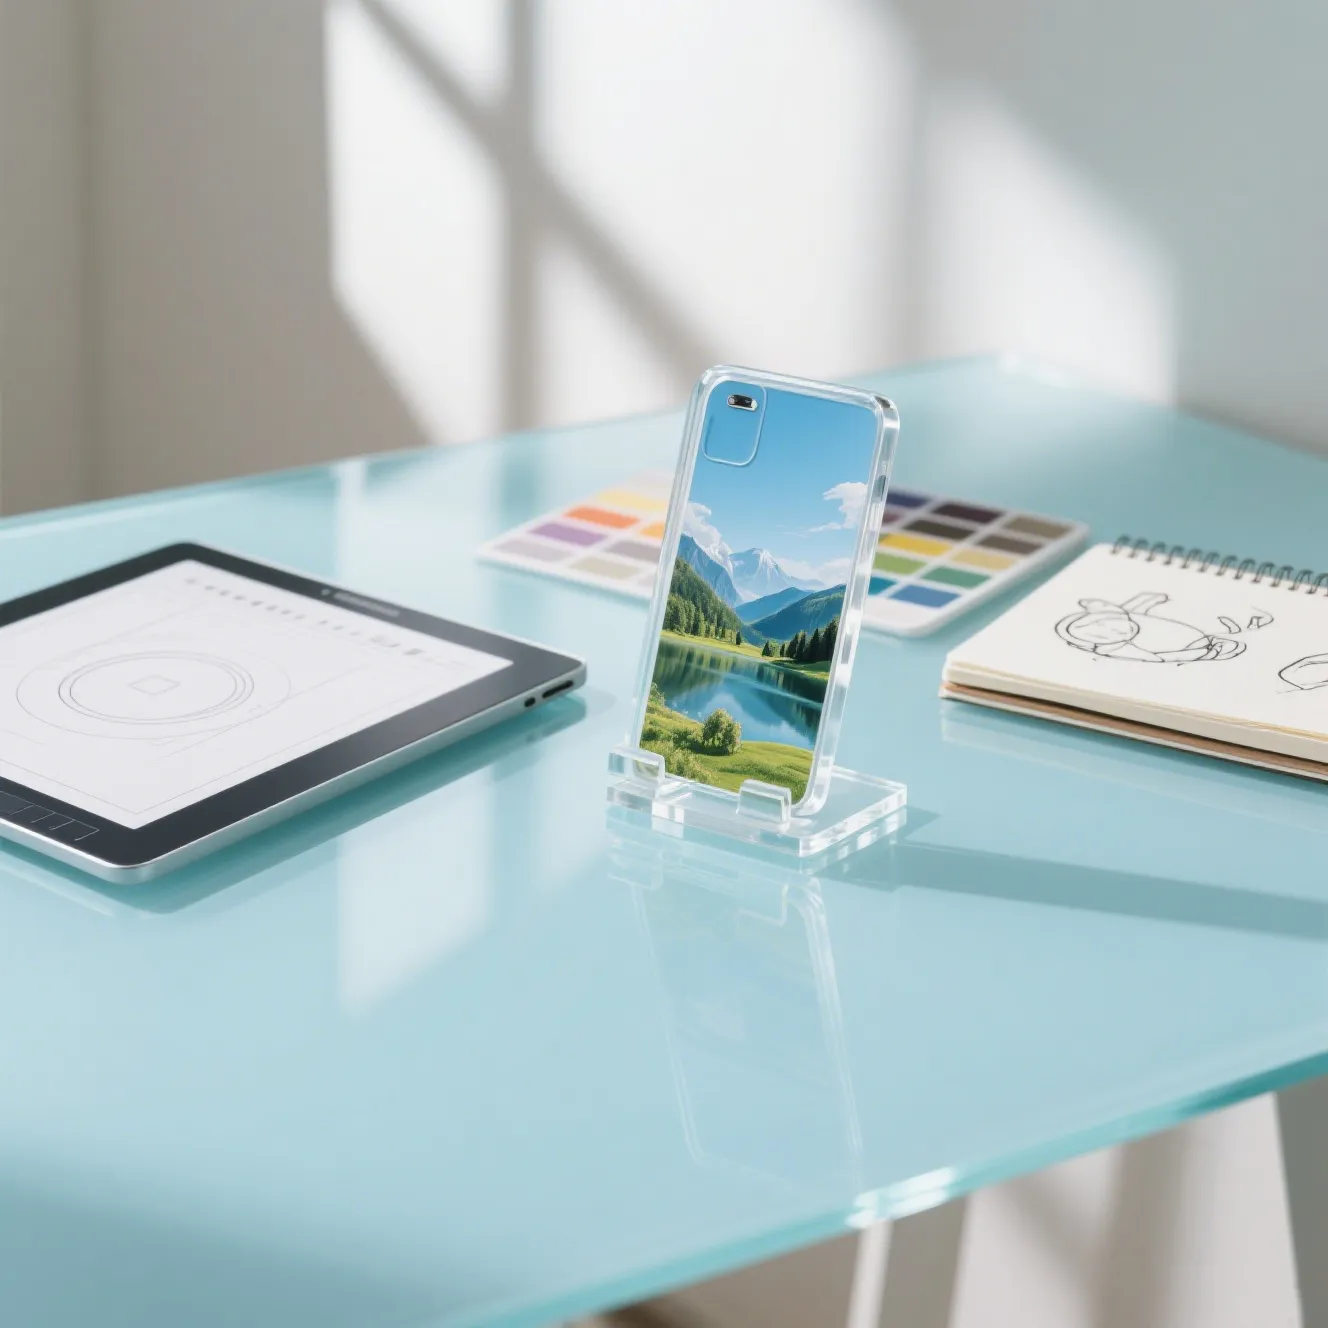
Use High-Quality Mockups and Photos: Use professional mockups and take beautiful, well-lit photos of your sample. Show it in a real-world setting, like on a desk or bookshelf.
-
Leverage Pre-Orders and Scarcity: Launch your standee as a limited-time pre-order. This creates urgency and guarantees you won’t lose money on unsold inventory. Frame it as an exclusive opportunity.
Step Seven: Build a Product Ecosystem
Your first successful custom acrylic standee is not the end; it’s the beginning. Now you can build on that success.
Expanding Your Product Line
-
Listen and Poll Your Audience: Ask your fans which character they want to see next. They will give you invaluable market research for free.
-
Create Complementary Products: Design a matching acrylic keychain or sticker sheet. You can bundle these items together to increase your average order value.
-
Release in “Waves” or “Series”: Treat your standees like a collectible series. This encourages fans to come back for each new release to complete their set.
Your Action Plan to Bring Your Art to Life
Feeling ready? You can start this process today.
-
This Week: Concept and Design. Choose your character and create the artwork. Focus on a strong silhouette and a complementary base.
-
Next Week: File Prep and Manufacturer Research. Create your print-ready file with separate cut lines. Research 3-5 potential manufacturers, including POD options.
-
Following Week: Order a Sample. Choose your top manufacturer and order a single prototype. This is your most important quality check.
-
Launch Month: Build Hype and Go Live. While your sample is in production, start teasing the product. Once the sample arrives and you’re happy with it, take photos and launch your pre-order campaign.
By following this framework, you’re not just learning how to make a custom acrylic standee. You are learning how to build a sustainable, profitable brand around your art. You are taking control of your creative career and building a deeper connection with the people who support you.
Frequently Asked Questions (FAQ)
What is the most common mistake artists make when first creating a standee?
The most common mistake is designing a shape with thin, fragile parts (like wisps of hair or tiny sword points) that are likely to break. Always design for durability.
What is the difference between single-board and double-board acrylic?
Single-board means the art is printed on one side of the acrylic. Double-board sandwiches the print between two pieces of acrylic, offering maximum protection and a more premium, professional look. It’s the preferred choice for high-quality standees.
How do I ensure the colors in my standee are vibrant?
Start by designing in CMYK. Additionally, talk to your manufacturer about their use of a white ink base. A layer of white ink is printed underneath your colors, which makes them appear bright and opaque on the clear acrylic.
What is a reasonable price to sell a custom acrylic standee for?
This depends on your size, complexity, and audience. A good starting point is to price your standee at 3 to 5 times your production cost per unit. For a typical 4-5 inch standee, a retail price of $15-$25 is common.
How do I handle shipping to make sure my standees don’t break?
Most standees are shipped disassembled (figure and base separate) and with a protective peel-off film on each side. Advise your customers to leave this film on until they are ready to display it. For shipping, wrap the pieces securely in bubble wrap and use a sturdy mailer or small box.