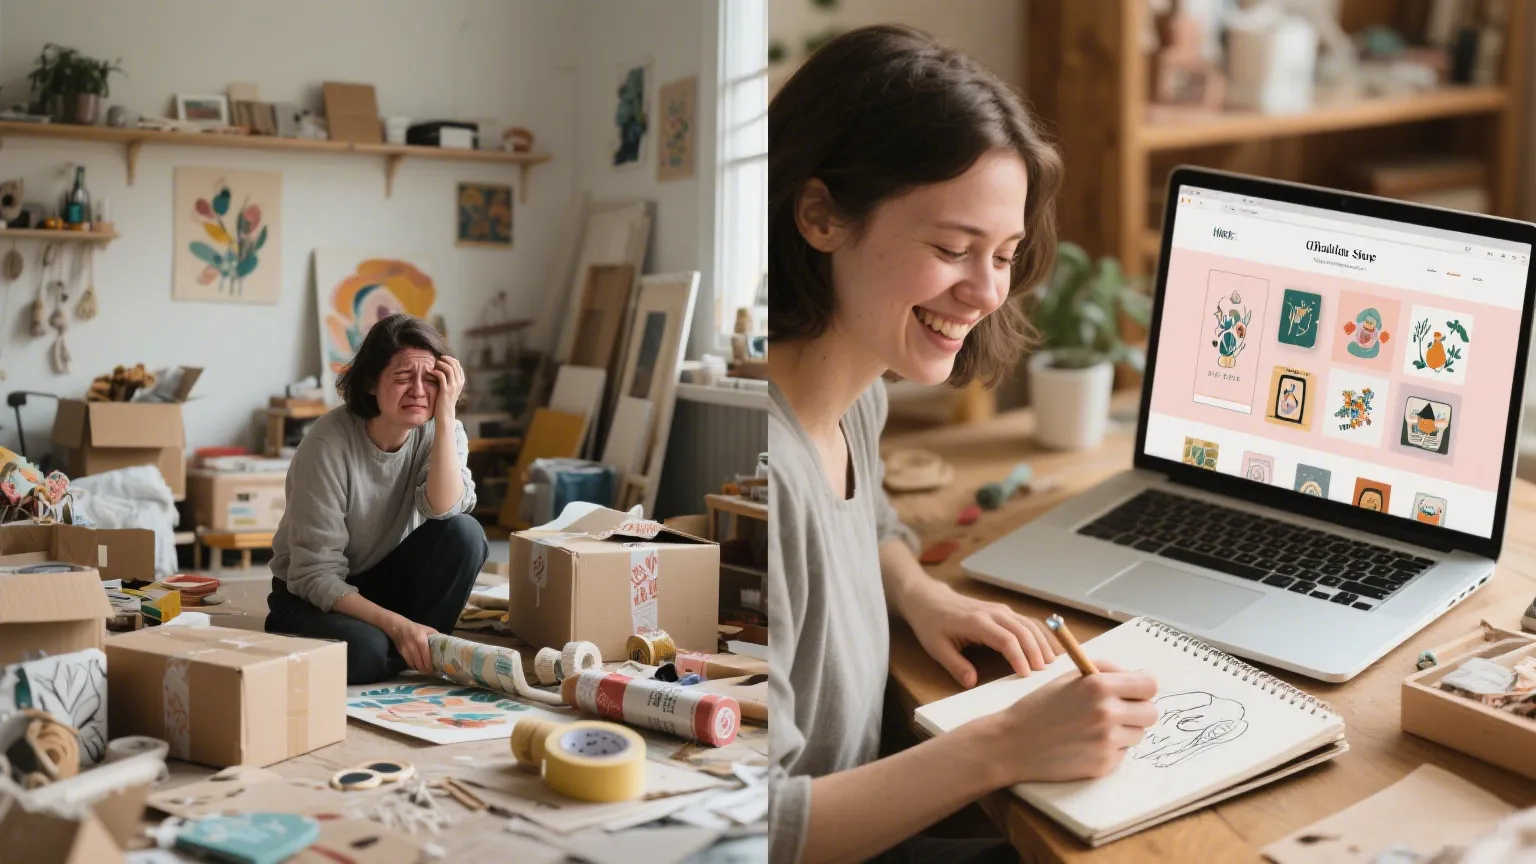
The air in the convention hall was electric, a buzzing symphony of excited chatter and rustling comic book pages. It was my first time at an artist alley, my little table a tiny island in a sea of incredible talent. My heart was pounding. Tucked in a corner of my display was a small bowl of glossy pins—my first-ever run of customized pin badges, featuring a little fox character I’d been doodling for years. For hours, people would stop, look, and move on. Then, a girl with bright pink hair paused. She picked up one of the fox pins, her eyes lighting up. “He’s just like the one in my sketchbook!” she exclaimed. She bought it, and as she walked away, I saw her immediately fasten it to her lanyard. It wasn’t just a $3 sale. It was a connection. My simple idea, now a tiny, wearable icon, had found its person.
That moment taught me a profound lesson: a pin badge is never just a pin badge. It’s a spark of identity, a badge of community, and a physical piece of a story. In our fast-paced digital world, where everything feels temporary and intangible, the humble pin has emerged as a powerful anchor. It’s a tangible piece of art that travels on jackets, bags, and bulletin boards, creating real-world impressions long after a social media ad has been scrolled past.
This guide is for every artist, entrepreneur, event planner, and dreamer who has an idea waiting to become an icon. We’ll walk through the five essential steps to transform your concept into a collection of high-quality customized pin badges that people will love, wear, and share.

The Tiny Badge with a Mighty Punch: Why Pins Matter Now
The resurgence of pin culture is no accident. It’s a direct response to a fundamental human need for connection and self-expression in an era of digital overload. These miniature canvases have become a silent language for showing the world who we are and what we love.
For individuals, they are “tribal markers.” A pin can instantly signal membership in a fandom, support for a cause, or a shared inside joke. It’s a way to curate your personal brand on the most valuable real estate you own: yourself. This act of personal curation is what makes them so appealing and shareable.
For businesses and creators, this translates into an unparalleled marketing opportunity. Customized pin badges are one of the most cost-effective and enduring forms of promotion. Unlike a flyer that gets discarded, a pin gets worn. It becomes a walking endorsement, a conversation starter that introduces your brand to new audiences organically. A customer wearing your logo isn’t just a customer; they’re an ambassador.
Step 1: Igniting the Spark – Conceptualizing Your Design
Every iconic pin begins as a simple idea. This first step is about giving that idea clarity and purpose before it ever becomes a digital file.
Finding Your “Why”: The Purpose Behind the Pin
Before you open any design software, ask yourself the most important question: What is this pin for? The answer will shape every decision that follows.
-
Is it Merchandise? For artists and creators, the goal is to design something desirable that fans will want to buy and collect. The art is the product.
-
Is it a Brand Statement? For businesses, the pin should be a distillation of your brand identity. It could be your logo, a company mascot, or a pin that represents a core value.
-
Is it a Giveaway? For events and trade shows, the pin should be eye-catching and memorable, a token that reminds attendees of their positive experience.
-
Is it a Personal Gift? For weddings or parties, the design should be deeply personal, celebrating a specific date, person, or memory.
Design Fundamentals for Small Canvases
A pin is a miniature billboard, so clarity is everything.
-
High Contrast is Your Best Friend: Bold lines and distinct, contrasting colors will make your design pop, even from a distance. Avoid subtle gradients or low-contrast color schemes.
-
Simplicity Wins: Overly intricate details can get lost and look “muddy” when scaled down. Focus on a strong, central subject. If you must include text, use a bold, clear, and easily legible font.
-
Think in Shapes: Don’t limit yourself to a circle or square. A custom die-cut shape that follows the contours of your design can elevate it from a simple badge to a true collector’s item.
Tools of the Trade: From Napkin Sketch to Digital File
You don’t need a fancy art degree to create a great pin design.
-
For Beginners: Free and user-friendly tools like Canva are perfect for combining simple shapes, text, and graphics.
-
For Artists: Programs like Procreate on the iPad, or desktop software like Clip Studio Paint and Adobe Illustrator, offer the advanced tools needed for professional-level digital illustrations. The key is to create your final file at a high resolution (300 DPI or higher) to ensure a crisp print.
Step 2: Choosing Your Canvas – A Guide to Pin Materials
The material you choose for your customized pin badges dramatically affects their look, feel, and perceived value. This is where you match your design’s purpose with the right physical form.
The Classic Crowd-Pleaser: Button Badges
These are the quintessential, accessible pins. A printed paper design is pressed onto a metal shell with a protective Mylar coating.
-
Pros: Extremely cost-effective, fast production times, and perfect for full-color, photographic, or complex digital designs.
-
Best For: Large-scale giveaways, political campaigns, informal events, and kid-friendly designs.
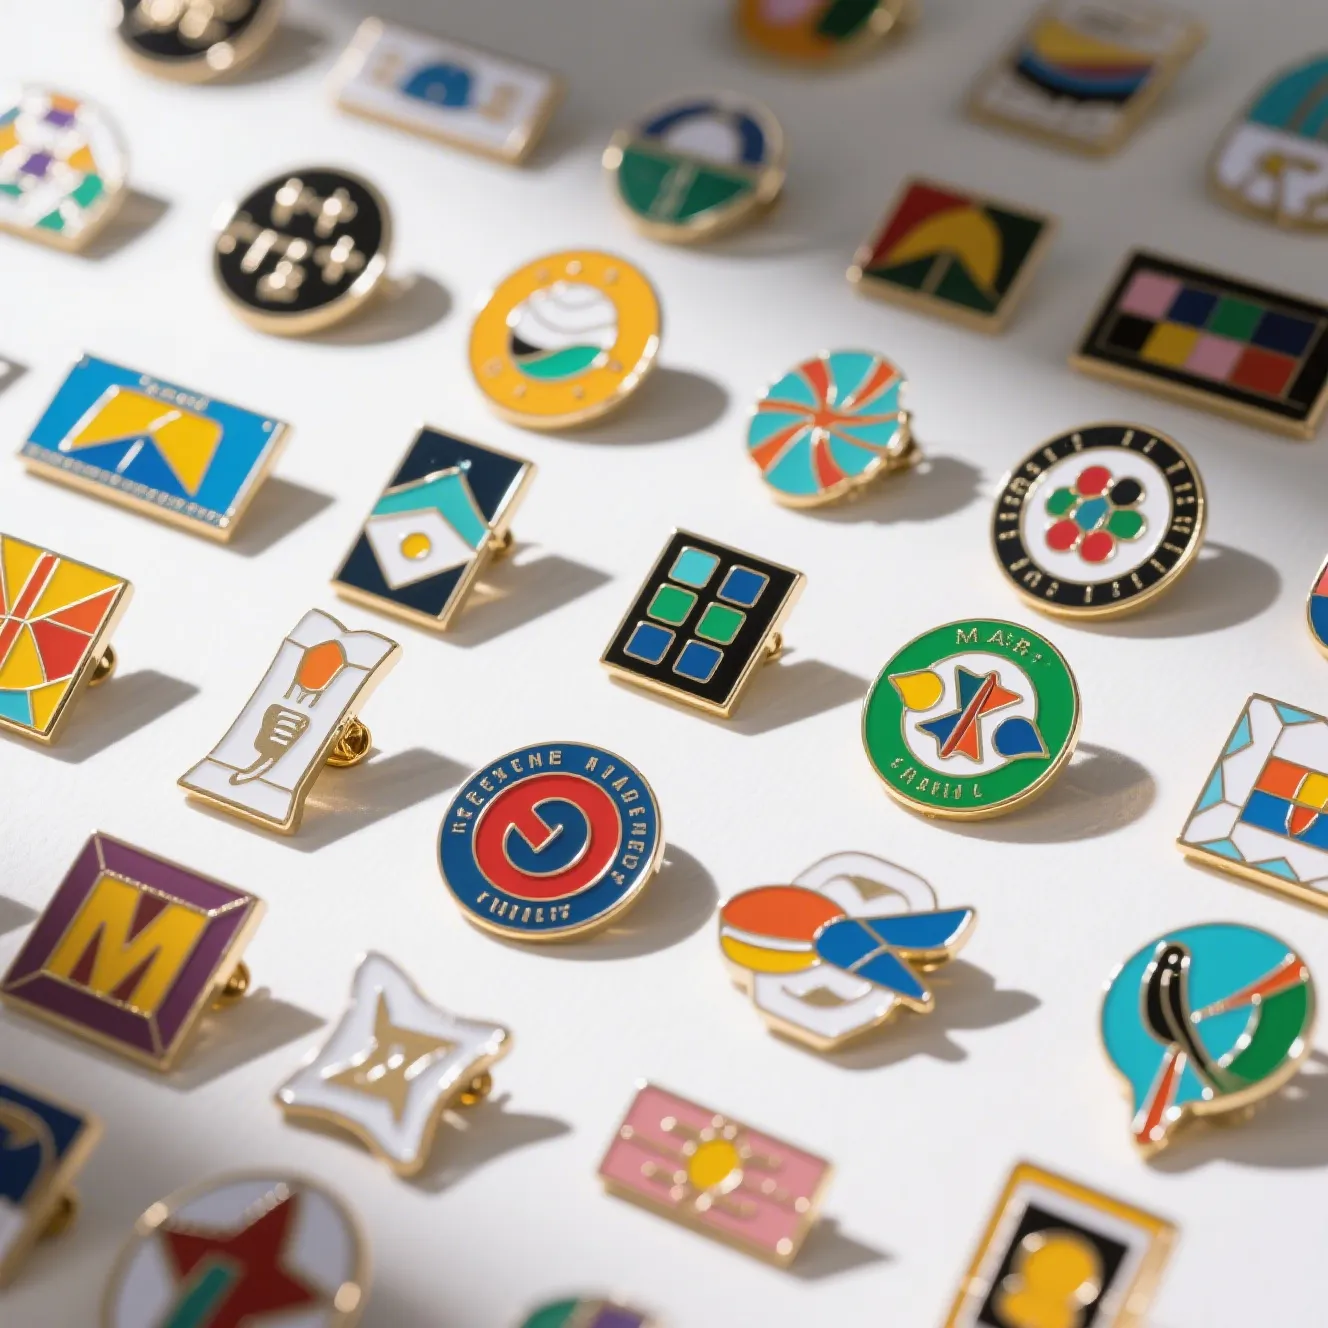
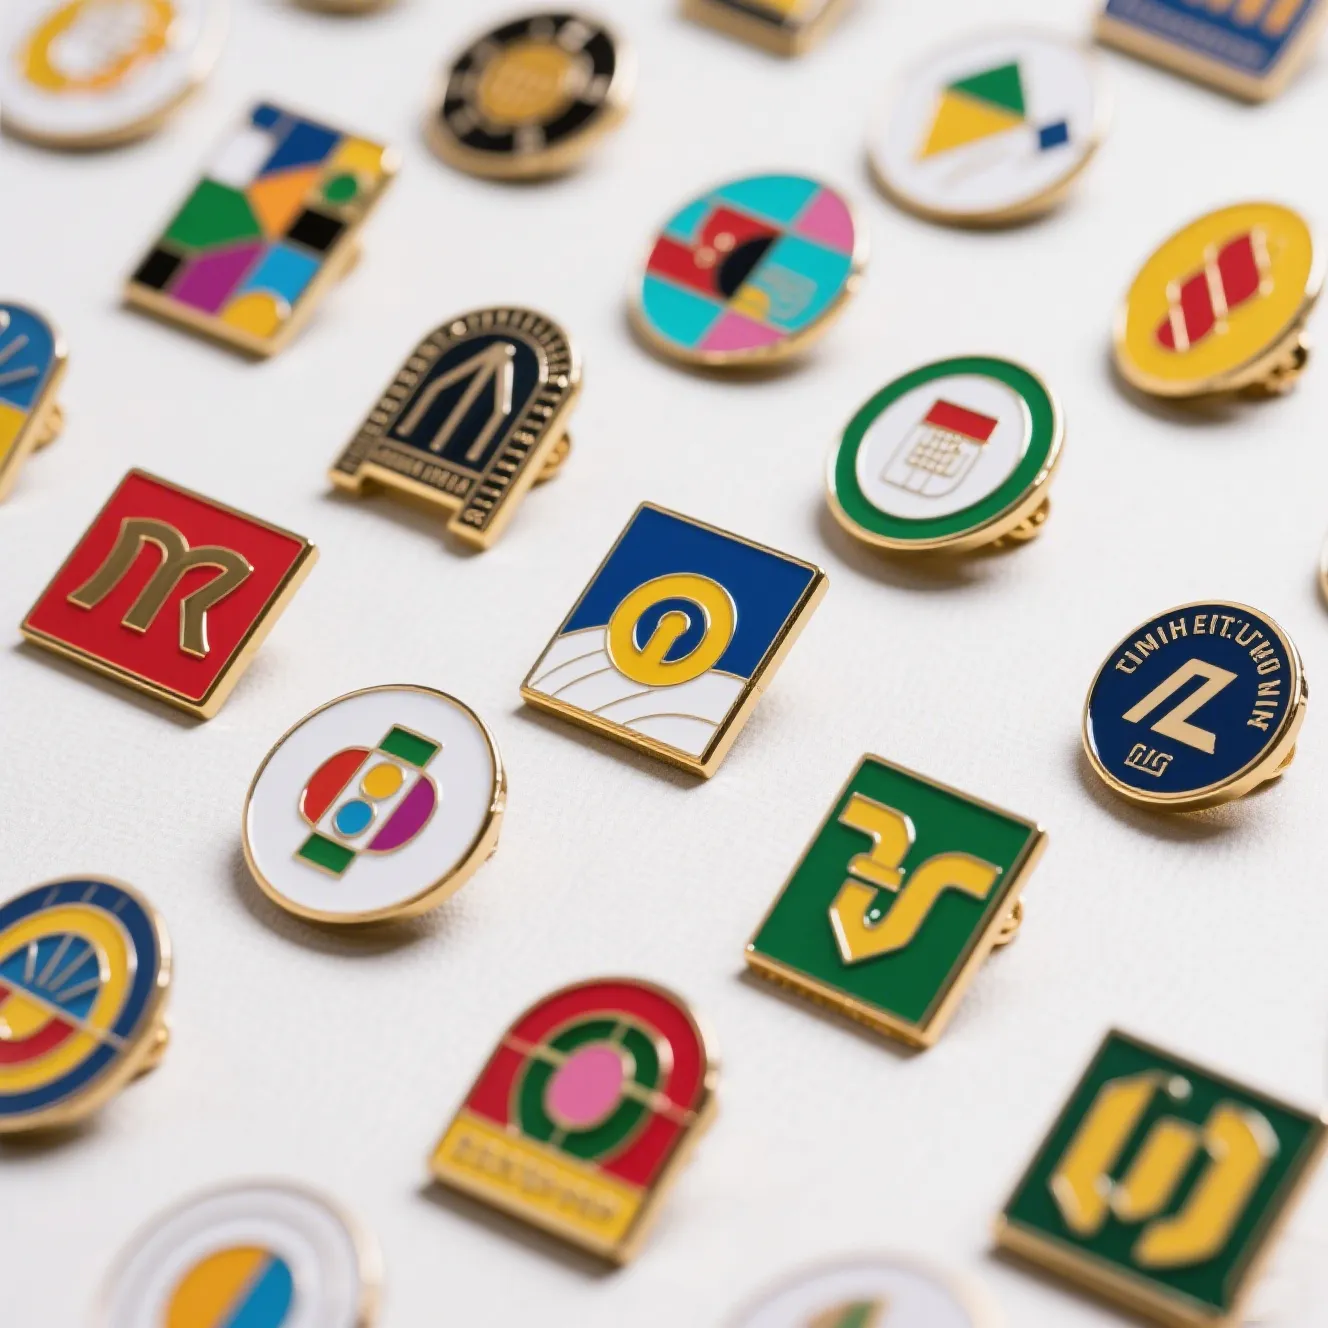
The Jewel of Merch: Enamel Pins
Enamel pins are die-struck from metal and hand-filled with colored enamel, giving them a substantial, jewelry-like quality.
-
Soft Enamel: The enamel is filled into the recessed areas of the metal, creating a textured, dimensional feel where you can feel the raised metal lines. It’s a classic and popular choice.
-
Hard Enamel: The enamel is overfilled and then polished down to be level with the metal lines, resulting in a smooth, flat, and highly durable finish. It has a higher perceived value and a sleek, professional look.
-
Best For: Retail merchandise for artists, premium corporate gifts, employee recognition, and collector’s items.
The Modern & Unique: Wooden and Acrylic Pins
For those looking to stand out, alternative materials offer a unique aesthetic.
-
Wooden Pins: Often made from responsibly sourced woods like cherry or maple, they offer a warm, rustic, and eco-conscious appeal. The wood grain can add a beautiful, natural texture to your design.
-
Acrylic Pins: Your design is printed directly onto clear, durable acrylic and then laser-cut to shape. This allows for vibrant, full-color designs with the added benefit of creative transparency effects and unique shapes.
-
Best For: Eco-friendly brands, artists with a unique style, and anyone wanting a modern, crafty look.
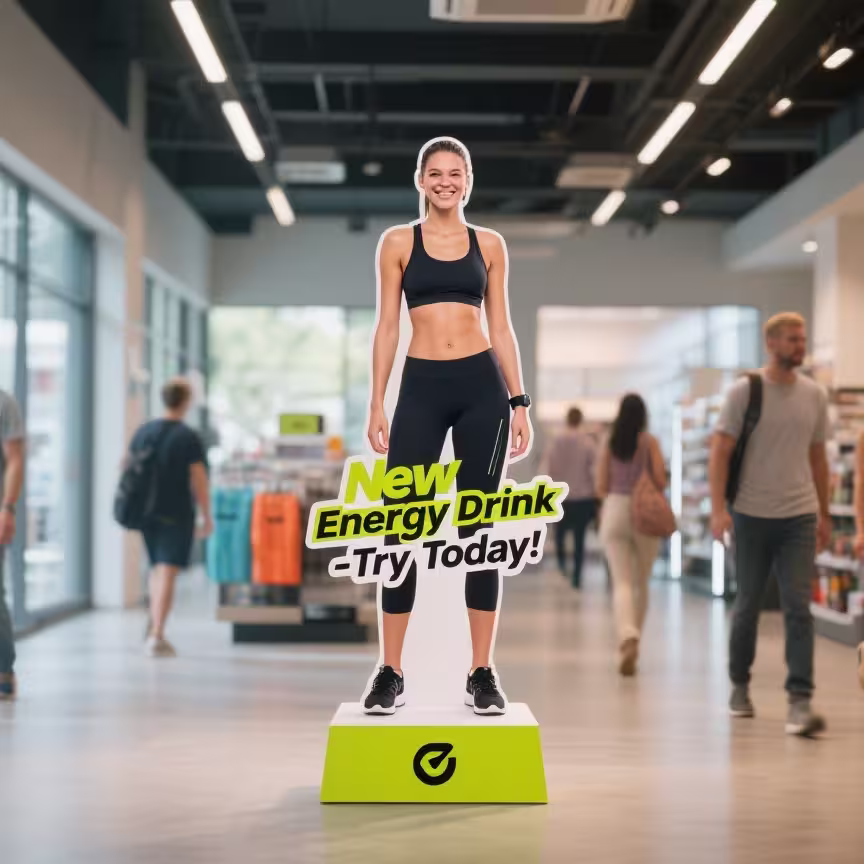
Step 3: The Pinterest Power Play – Marketing Your Pins Visually
Creating a beautiful pin is only half the journey. Getting it seen is the other half. For a visual product like a customized pin badge, Pinterest is your most powerful marketing tool. It’s not just social media; it’s a visual discovery engine where people actively search for products to buy and inspiration for their lives.
Optimizing Your Pin’s “Curb Appeal”
Your product photography is your digital storefront.
-
Go Vertical: Design your Pinterest images (Pins) with a 2:3 aspect ratio (e.g., 1000 x 1500 pixels). This format takes up the most space on mobile feeds.
-
Show, Don’t Just Tell: Don’t only post a photo of the pin on a plain white background. Show it in context! A lifestyle shot of the pin on a denim jacket, a backpack, or a corkboard tells a story and helps users imagine it in their own lives.
-
Create Compelling Graphics: You can use a tool like Canva to create a graphic that includes multiple photos, text overlays, and your logo. This provides more value and is more likely to be saved and shared.
Step 4: The Final Polish – Backings, Finishes, and Packaging
The small details are what separate a good pin from a great one. These finishing touches can elevate the entire experience for your customer.
More Than a Clasp: Choosing the Right Backing
The backing determines how the pin attaches and how secure it is.
-
Butterfly Clutch: The standard, easy-to-use metal clasp.
-
Rubber Clutch: A popular alternative that provides a snug fit and is more comfortable against the skin. Comes in many colors.
-
Locking Backs: For pins that will be worn on bags or thick jackets, these provide extra security to prevent loss.
Special Finishes that Dazzle
Ask your manufacturer about special options that can make your design unforgettable.
-
Glitter Enamel: Adds a sparkly effect to select colors.
-
Glow-in-the-Dark Enamel: Perfect for Halloween or space-themed designs.
-
Different Metal Platings: Beyond standard silver and gold, consider black nickel, rose gold, or antique finishes to dramatically change your pin’s mood.
Step 5: Bringing It to Life – Finding Your Production Partner
This is the final, crucial step where your digital file becomes a tangible product. Choosing the right partner is key. You need a company that understands the needs of creators and businesses, offering flexibility and quality.
Look for a manufacturer that provides:
-
No or Low Minimum Order Quantities (MOQs): This is essential for testing designs without a huge financial risk.
-
Detailed Digital Proofs: A good partner will send you a digital mock-up for your approval, showing colors, cut lines, and placement before any pins are made.
-
Excellent Material and Finish Options: The more choices you have, the more you can customize the pin to your exact vision.
The journey from a simple sketch to a finished product can feel daunting, but services like Loongwa Print have simplified this entire process. They act as your production expert, handling the technical complexities so you can stay focused on your creative vision.
Your Vision, Worn with Pride
From that electric moment in the convention hall to seeing my designs on the bags and jackets of strangers in coffee shops, I’ve learned that the power of a customized pin badge lies in its ability to make a connection. It turns a brand into a community and an idea into an icon.
By following these five steps—from crafting a purposeful design and choosing the right materials to mastering your marketing and selecting the perfect finishes—you are not just creating a product. You are creating a tiny, tangible piece of your story that someone else can wear with pride. Your vision is ready. It’s time to bring it to life.
Frequently Asked Questions (FAQ)
Q1: What is the best type of pin for a beginner with a limited budget?
For beginners, classic button badges are the most budget-friendly and have the fastest turnaround time. They are perfect for testing multiple designs without a large investment.
Q2: How important is a custom backing card for my pins?
A backing card is highly recommended for retail products. It elevates the perceived value, protects the pin, provides a professional presentation, and offers valuable space for your brand name, website, or social media handles.
Q3: Do I need to be a professional artist to design a good pin?
Not at all! The most successful pins often have a simple, clever, or heartfelt concept. A clean logo, a funny phrase in a great font, or a simple graphic can be just as effective as a complex illustration.
Q4: What’s the biggest mistake to avoid when designing a pin?
The biggest mistake is making the design too complex for its small size. Avoid thin lines, small text, and subtle color changes. Always design for clarity and immediate visual impact.
Q5: Should I choose a soft enamel or hard enamel pin?
It depends on your desired look. Choose soft enamel for a classic, textured, dimensional look that is slightly more affordable. Choose hard enamel for a smooth, polished, jewelry-quality finish with higher durability and a more premium feel.