How to Remove a PopSocket for Wireless Charging: A 2025 Guide
You’re standing in front of your wireless charging pad. It’s a sleek, magical disc promising a world without cables. You go to place your phone down, ready for that satisfying snap and charging glow, but… nothing happens. The culprit? That beloved PopSocket on the back of your phone, the very accessory that gives you the perfect grip, is now a barrier to convenience. You’re left wondering, how to remove a PopSocket for wireless charging without destroying the grip, your phone case, or your sanity?
If this sounds familiar, you’re not alone. I’ve been there, fumbling with my phone, feeling that flash of frustration. You love the utility of your PopSocket, maybe it’s even a custom one that shows off your personality. But you also paid for the convenience of wireless charging, and it feels like you’re being forced to choose between two things you love.
The good news is, you don’t have to choose. Removing a PopSocket, whether temporarily or permanently, is much easier than you think—if you know the right techniques. This isn’t about brute force; it’s about finessing it like a pro. In this ultimate guide, I’ll walk you through every method, step-by-step, for every type of PopSocket out there. We’ll turn that moment of frustration into a moment of empowerment, getting you back to seamless, wireless power in no time.
Why Do You Even Need to Remove It? The Science of the Gap
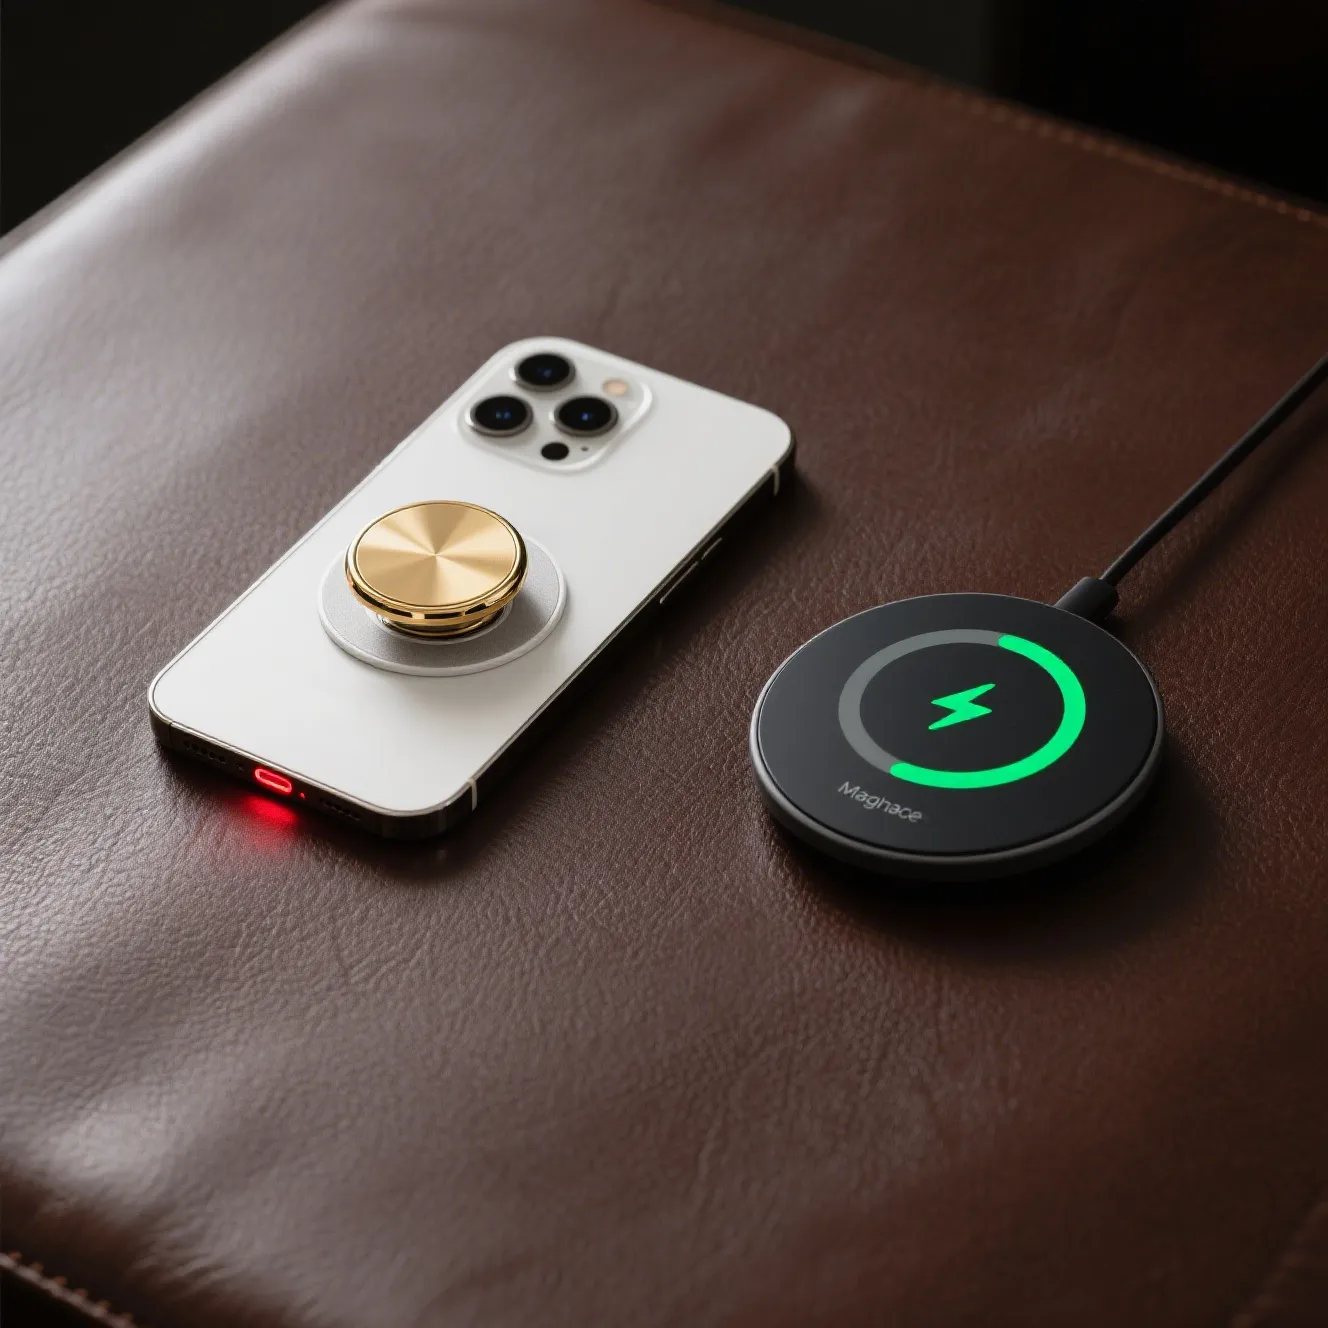
Before we dive into the “how,” let’s quickly cover the “why.” Wireless charging works via magnetic induction. Your charger has a coil that sends power, and your phone has a coil that receives it. For this to work, they need to be incredibly close.
A standard PopSocket, even when collapsed, creates a physical gap that is often too wide for the charger’s magnetic field to bridge effectively. If your grip has any metal parts, it’s even worse, as metal actively blocks the field. So, the goal of removal is simple: close the gap.
Method 1: The Easiest Fix – The Swappable PopGrip
The most common and modern PopSockets are the “Swappable” kind. If you bought your PopSocket in the last few years, you likely have one. This is, by far, the easiest solution for wireless charging.
How to Identify a Swappable PopGrip:
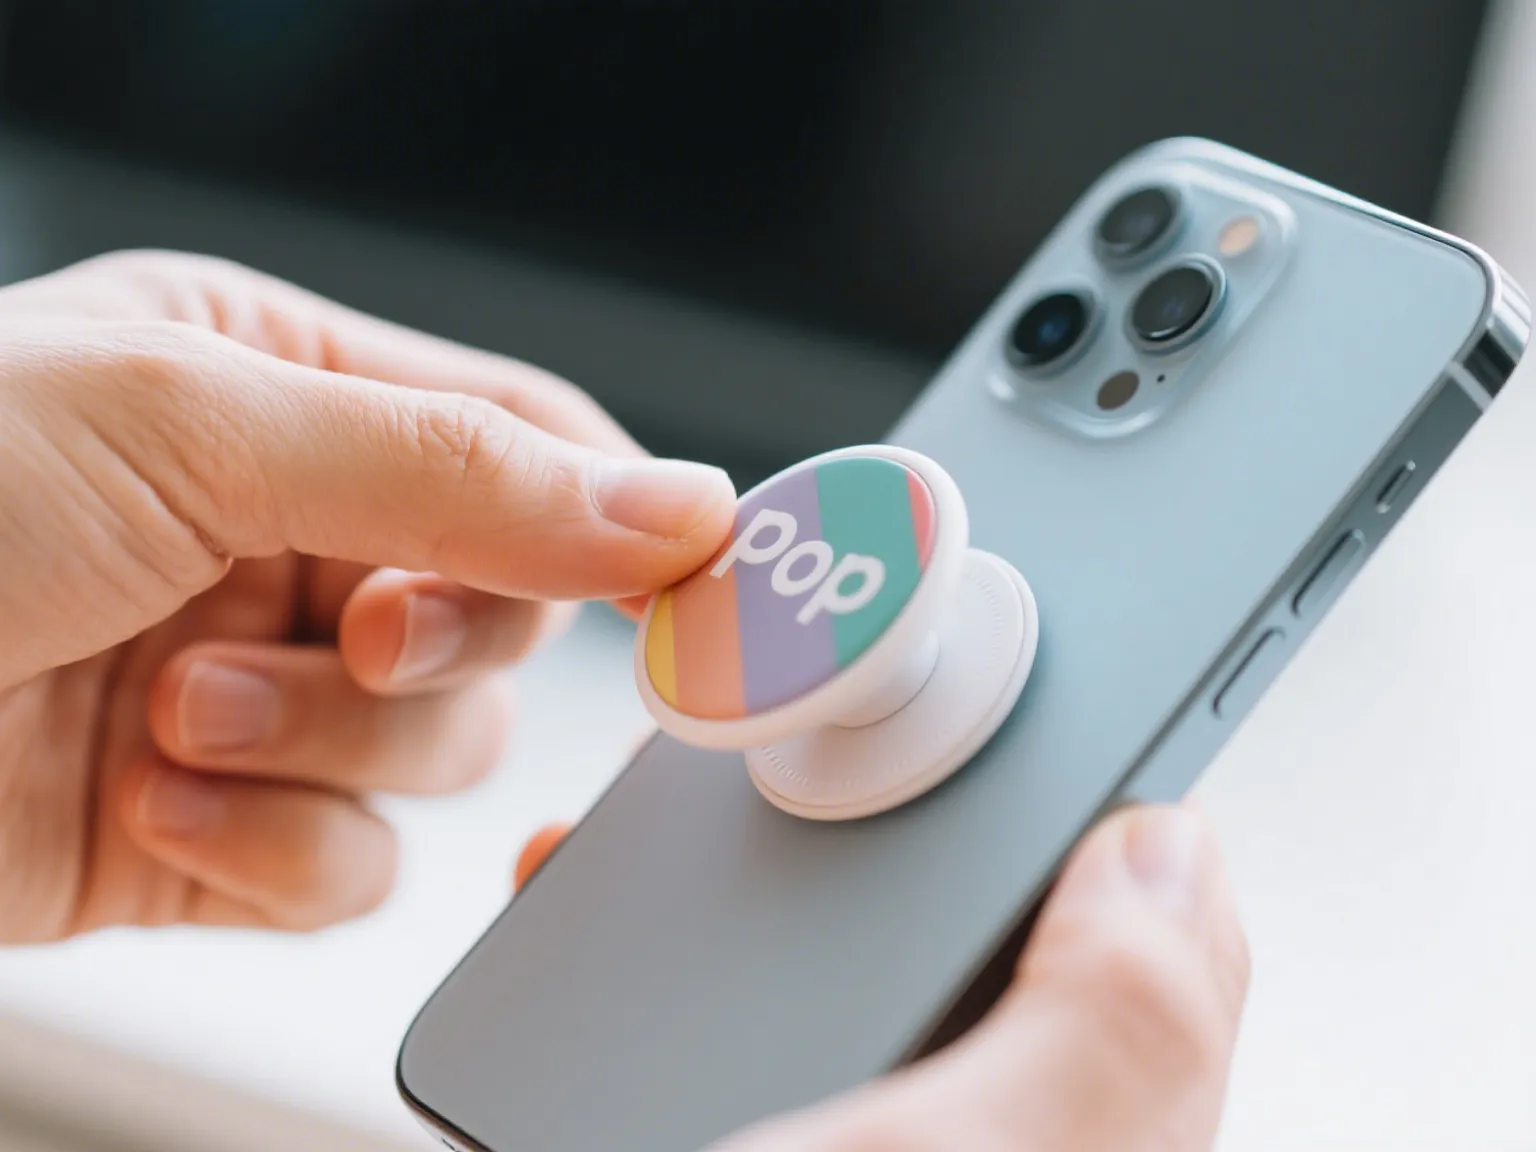
To know if you have a swappable model, first extend the grip fully. Then, look closely at the stem; you should be able to see a faint line or seam dividing the decorative top, known as the “PopTop,” from the accordion base. If you see this seam, you have a swappable grip.
How to Remove the PopTop for Charging:
This is the beautifully simple part that millions of users love.
First, you must collapse the grip by pushing the PopTop all the way down so it’s flat against its base. This is a crucial first step.
Next, press and twist the PopTop. Apply firm, downward pressure with your thumb and forefinger. While pressing down, twist it 90 degrees in either direction (counter-clockwise is common). You should feel a distinct click or release as it unlocks.
Finally, simply lift the PopTop off. It will come right off, leaving the thin, flat adhesive base on your phone.
Now, your phone has a much thinner profile. Place it on your wireless charger. For the vast majority of modern Qi chargers and cases, this is all you need to do to start charging successfully. When you’re done, simply align the notches on the PopTop with the base, press it in, and twist it back until it clicks securely into place.
Method 2: For the MagSafe Crowd – The Magnetic PopGrip
If you have an iPhone 12 or newer, the MagSafe ecosystem offers the most elegant solution of all. A MagSafe PopSocket doesn’t use adhesive; it attaches with powerful magnets.
How to Remove a MagSafe PopGrip:
There are no steps. You just pull it off.
Seriously, that’s it. The magnets are strong enough to hold it securely for daily use but designed to be removed easily when you want to charge or use other MagSafe accessories. When charging is complete, it snaps right back into place with perfect alignment every time. This is the gold standard for how to remove a PopSocket for wireless charging if you’re in the Apple ecosystem.
Method 3: The Classic Adhesive PopSocket – A Step-by-Step Removal Guide
What if you have an older, non-swappable PopSocket? Or what if you want to remove the entire base to switch cases or reposition it? This is where people often get nervous, fearing sticky residue or a broken accessory.
Don’t worry. With a little patience, you can remove it cleanly. The key is to soften the adhesive, not fight it.
The Safest Tool for the Job: Your Secret Weapon
Forget knives or sharp metal objects. Your best tools are things you already have: a thin plastic card like a credit card or library card is perfect, or surprisingly, a length of dental floss or fishing line. A hair dryer can also be used optionally if needed.
Step-by-Step Removal Process:
Your first action should be to collapse the PopSocket completely. This gives you a flat, stable surface to work with.
Then, you’ll need to get under the edge. This is the most critical part. Don’t try to just pull the PopSocket straight up from the top. Instead, work your fingernail or the edge of a plastic card gently under the rim of the adhesive base. You’re just trying to lift a tiny section to break the initial seal.
With a small gap created, work slowly and steadily. Gently begin to slide the card further underneath the base, feeling the adhesive stretch and release as you go. Work your way around the circle.
Alternatively, you can try the dental floss trick. If the card method feels tough, grab a piece of dental floss. Work it under the lifted edge and use a gentle, back-and-forth sawing motion. The floss will slice through the adhesive layer without ever scratching your phone case.
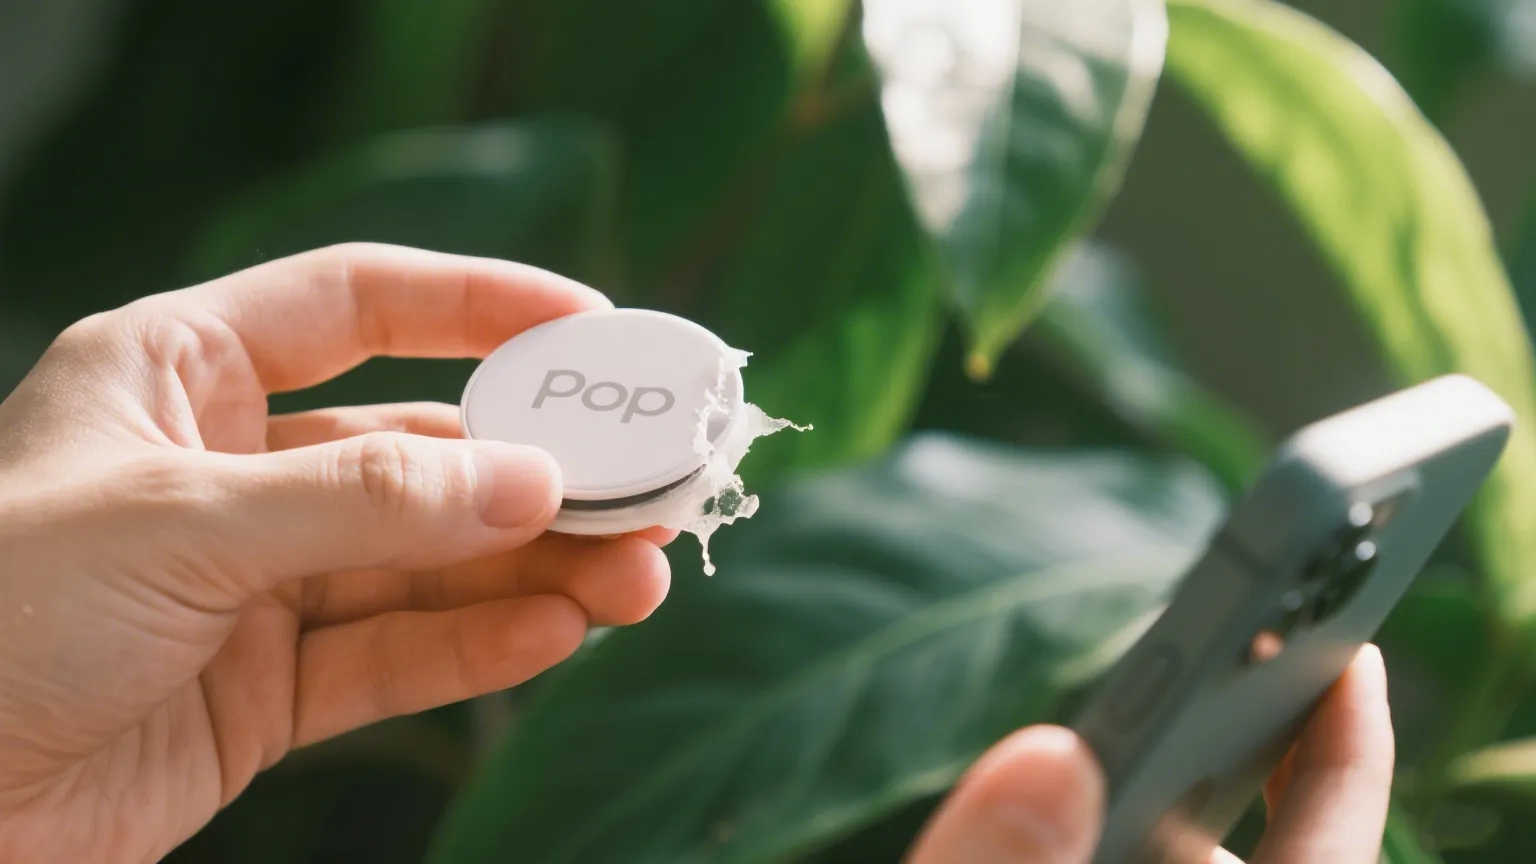
As the adhesive separates, continue to peel, don’t pull. Use slow, consistent pressure to peel the PopSocket off, and you should see the gel adhesive slowly detaching from the surface.
What if It’s Really Stuck? The Heat Method
If the PopSocket has been on for years or is on a particularly textured case, the adhesive might be stubborn. This is where a hair dryer comes in handy.
Be sure to use low heat. Set your hair dryer to its lowest setting to avoid damaging your phone case or the phone itself. While holding the dryer about 4-6 inches away, warm the base by moving it in a slow, circular motion for about 15-30 seconds. This is just enough to soften the gel adhesive. Immediately after warming it, try the card or floss method again. You should find it comes off much more easily.
Cleaning Up the Aftermath: Dealing with Residue
A well-made PopSocket should come off clean. But if you’re left with a sticky ring, it’s easy to clean up. Often, you can use the adhesive base of the PopSocket you just removed to dab at the residue. For anything that remains, apply a small amount of isopropyl alcohol to a microfiber cloth and gently rub the area.
The Big Question: Can I Re-stick My PopSocket?
Yes! The gel adhesive on an authentic PopSocket is designed to be repositionable.
First, clean the adhesive if it picked up any dust or oils by simply rinsing it with warm water.
Then, let it air dry completely. This is crucial. The adhesive must be 100% dry to regain its stickiness, which can take 10-15 minutes. Don’t use a towel.
Finally, re-apply it by pressing the PopSocket firmly onto the new, clean surface and holding for about 15 seconds to ensure a strong bond.
From Frustration to Freedom
The perceived conflict between your favorite phone grip and the magic of wireless charging is now a thing of the past. You are now equipped with the knowledge of how to remove a PopSocket for wireless charging, no matter which model you own.
Whether you’re performing the simple 90-degree twist of a Swappable PopTop, effortlessly lifting a magnetic MagSafe grip, or carefully easing off a classic adhesive base, you have the control. You no longer need to sacrifice convenience for comfort, or style for functionality.
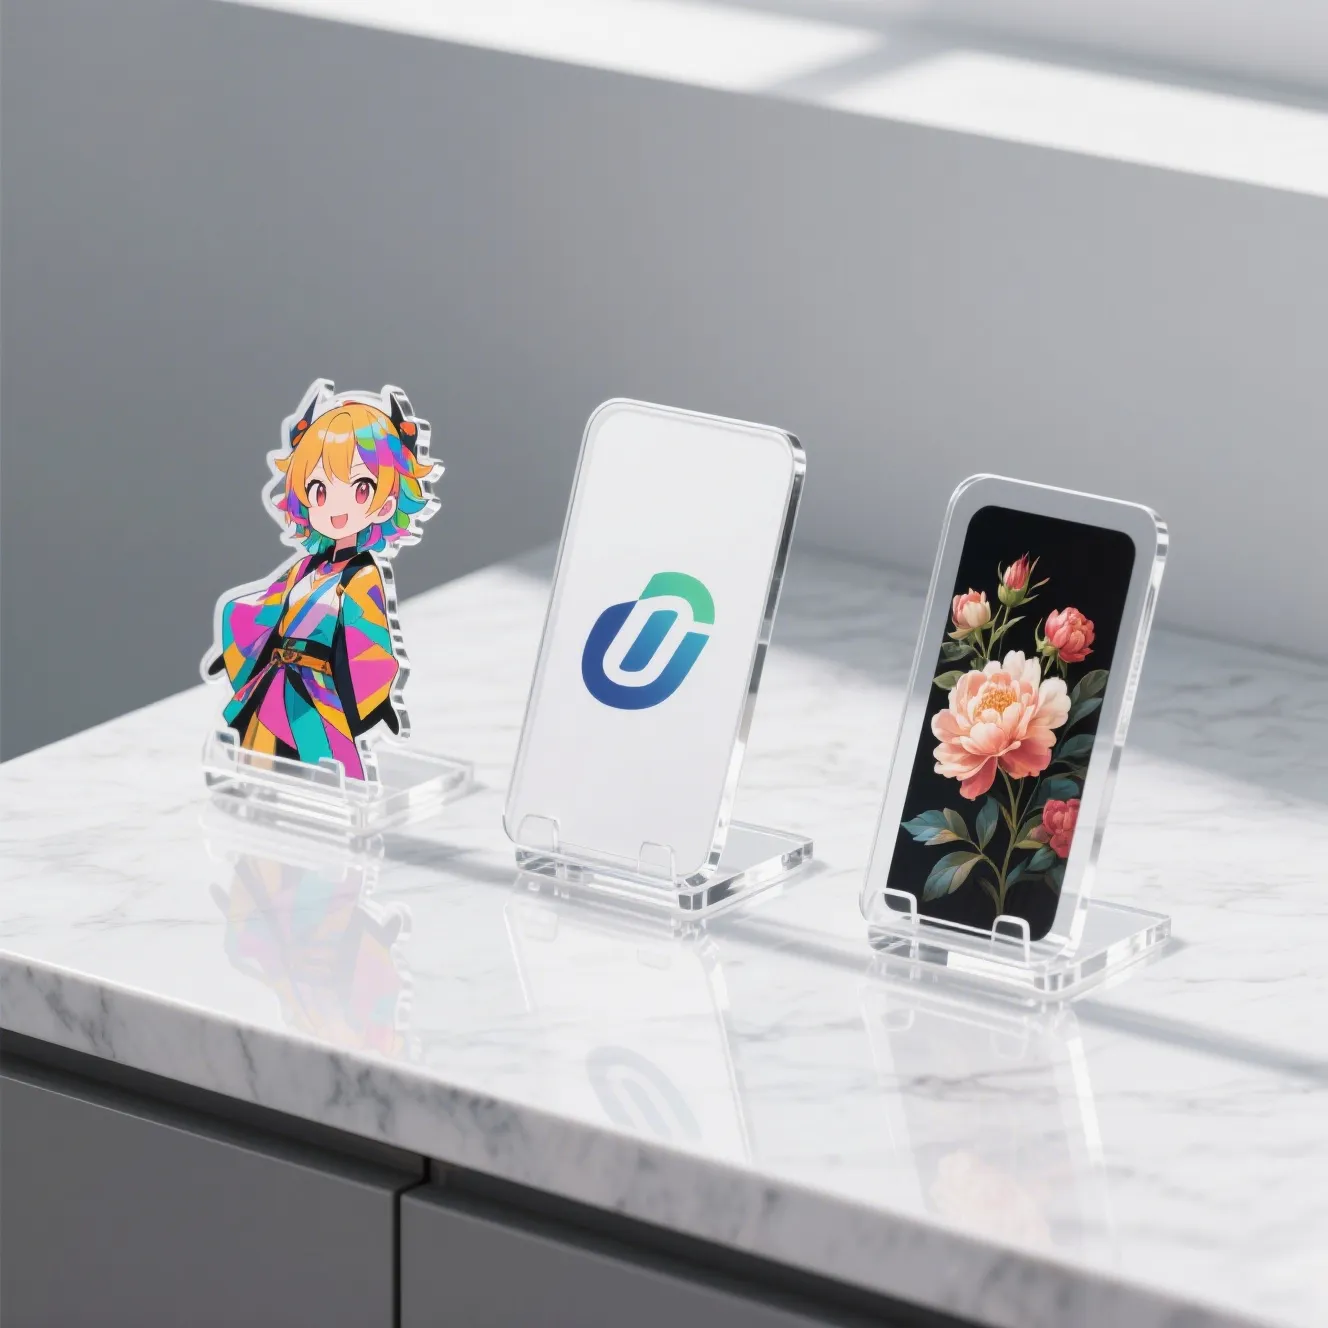
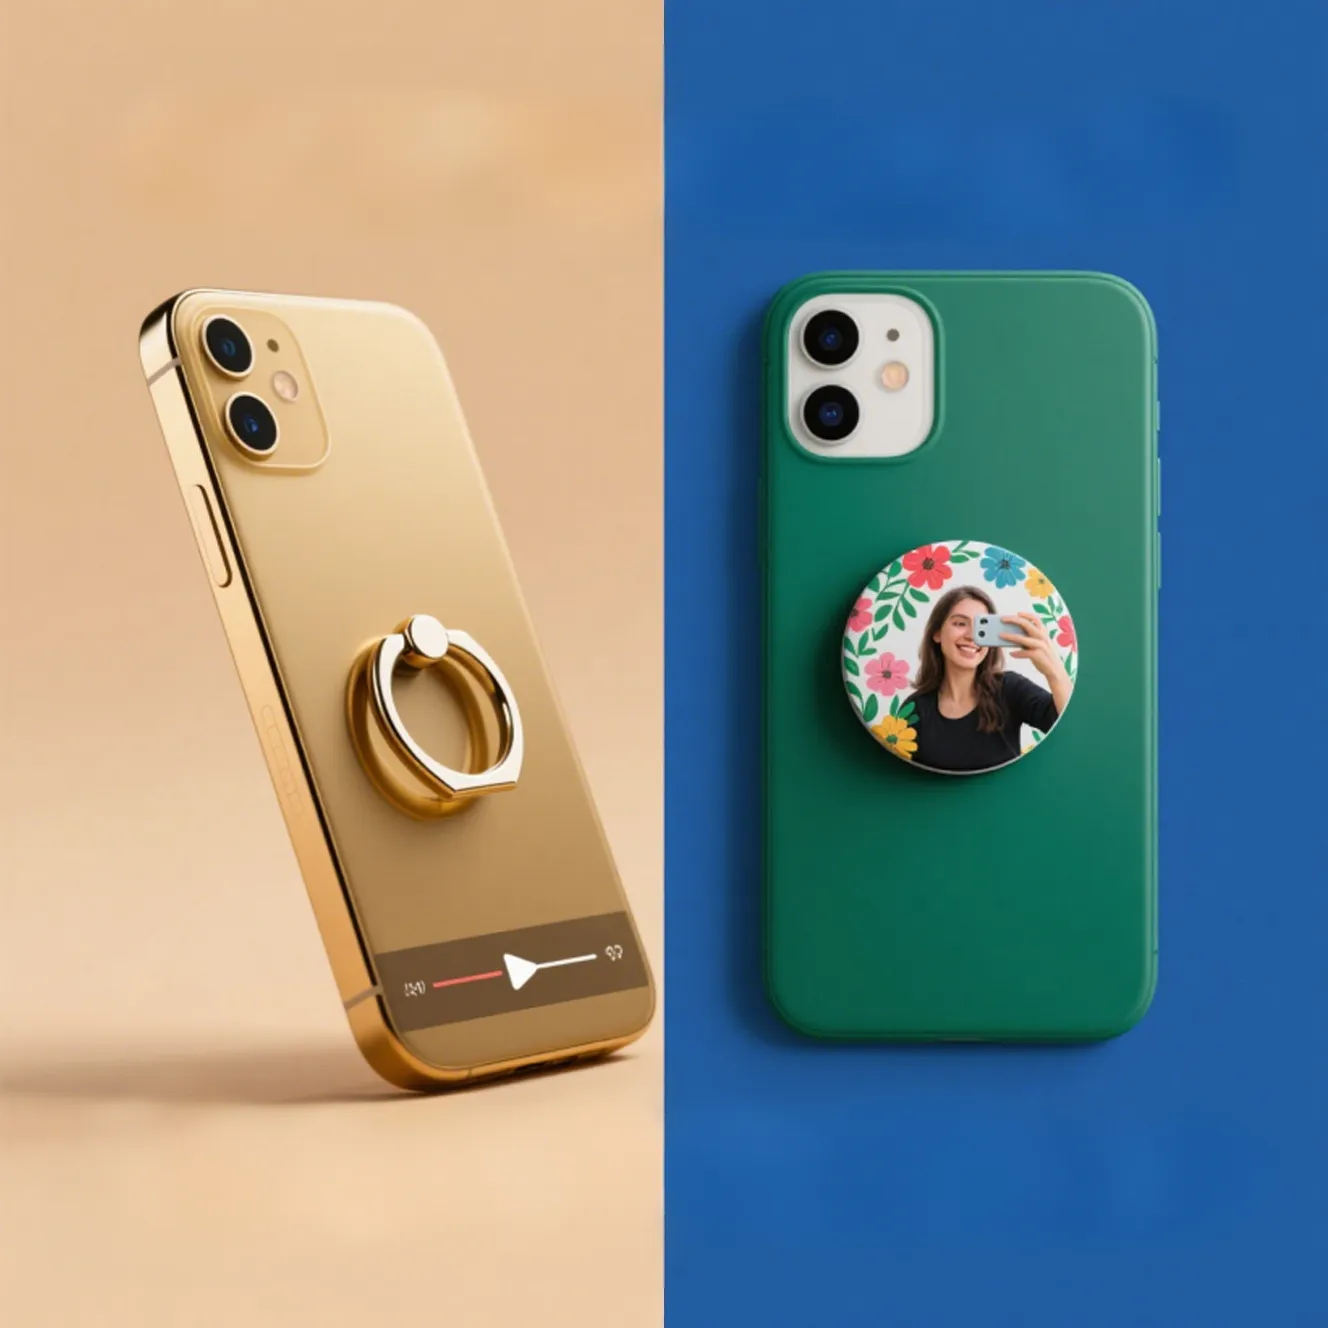
And since you now know how easy it is to swap things out, maybe it’s time for a style upgrade. Your phone grip is a canvas for your personality. At a POD factory supplier like Loongwa Print, you can design a fully custom acrylic PopSocket top that’s 100% you. Create one with a photo, your artwork, or your company logo, and attach it to a swappable base for the ultimate personalized and charge-friendly accessory.
Frequently Asked Questions (FAQ)
Will removing my PopSocket damage my phone case?
If you follow the methods described above—using a plastic card or floss and avoiding sharp objects or excessive force—the risk of damage is extremely low. The gel adhesive is designed to be removed from smooth, hard plastic cases without causing harm.
My PopSocket won’t stick anymore after I removed it. What did I do wrong?
The most likely reason is that the adhesive gel is either dirty or not fully dry. Rinse it with water only, let it air dry completely until it feels tacky again, and then try re-sticking it. If you used a paper towel to dry it, you may have left fibers on the gel, which will prevent it from sticking.
What’s the difference between removing a Swappable PopTop and the whole base?
Removing the PopTop is a temporary, daily solution for wireless charging. You simply twist it off and on. Removing the entire adhesive base is a more permanent action, done when you want to change phone cases, get rid of the grip for good, or reposition it.
Can I use these methods to remove a PopSocket from the back of the phone itself?
Yes, but you must be extra cautious. Phone backs, especially glass ones, are more delicate than a plastic case. Always use the gentlest methods (floss is excellent here) and never use high heat directly on your phone. It’s generally recommended to stick PopSockets to a case rather than the phone itself.
I don’t have a swappable or MagSafe grip. Is there any way to wirelessly charge without removing my PopSocket?
There is one other option: a specialized wireless charger. Some companies have made chargers with a “donut hole” in the middle, designed to fit a collapsed PopSocket perfectly, allowing the phone to make contact with the charging coils around it.